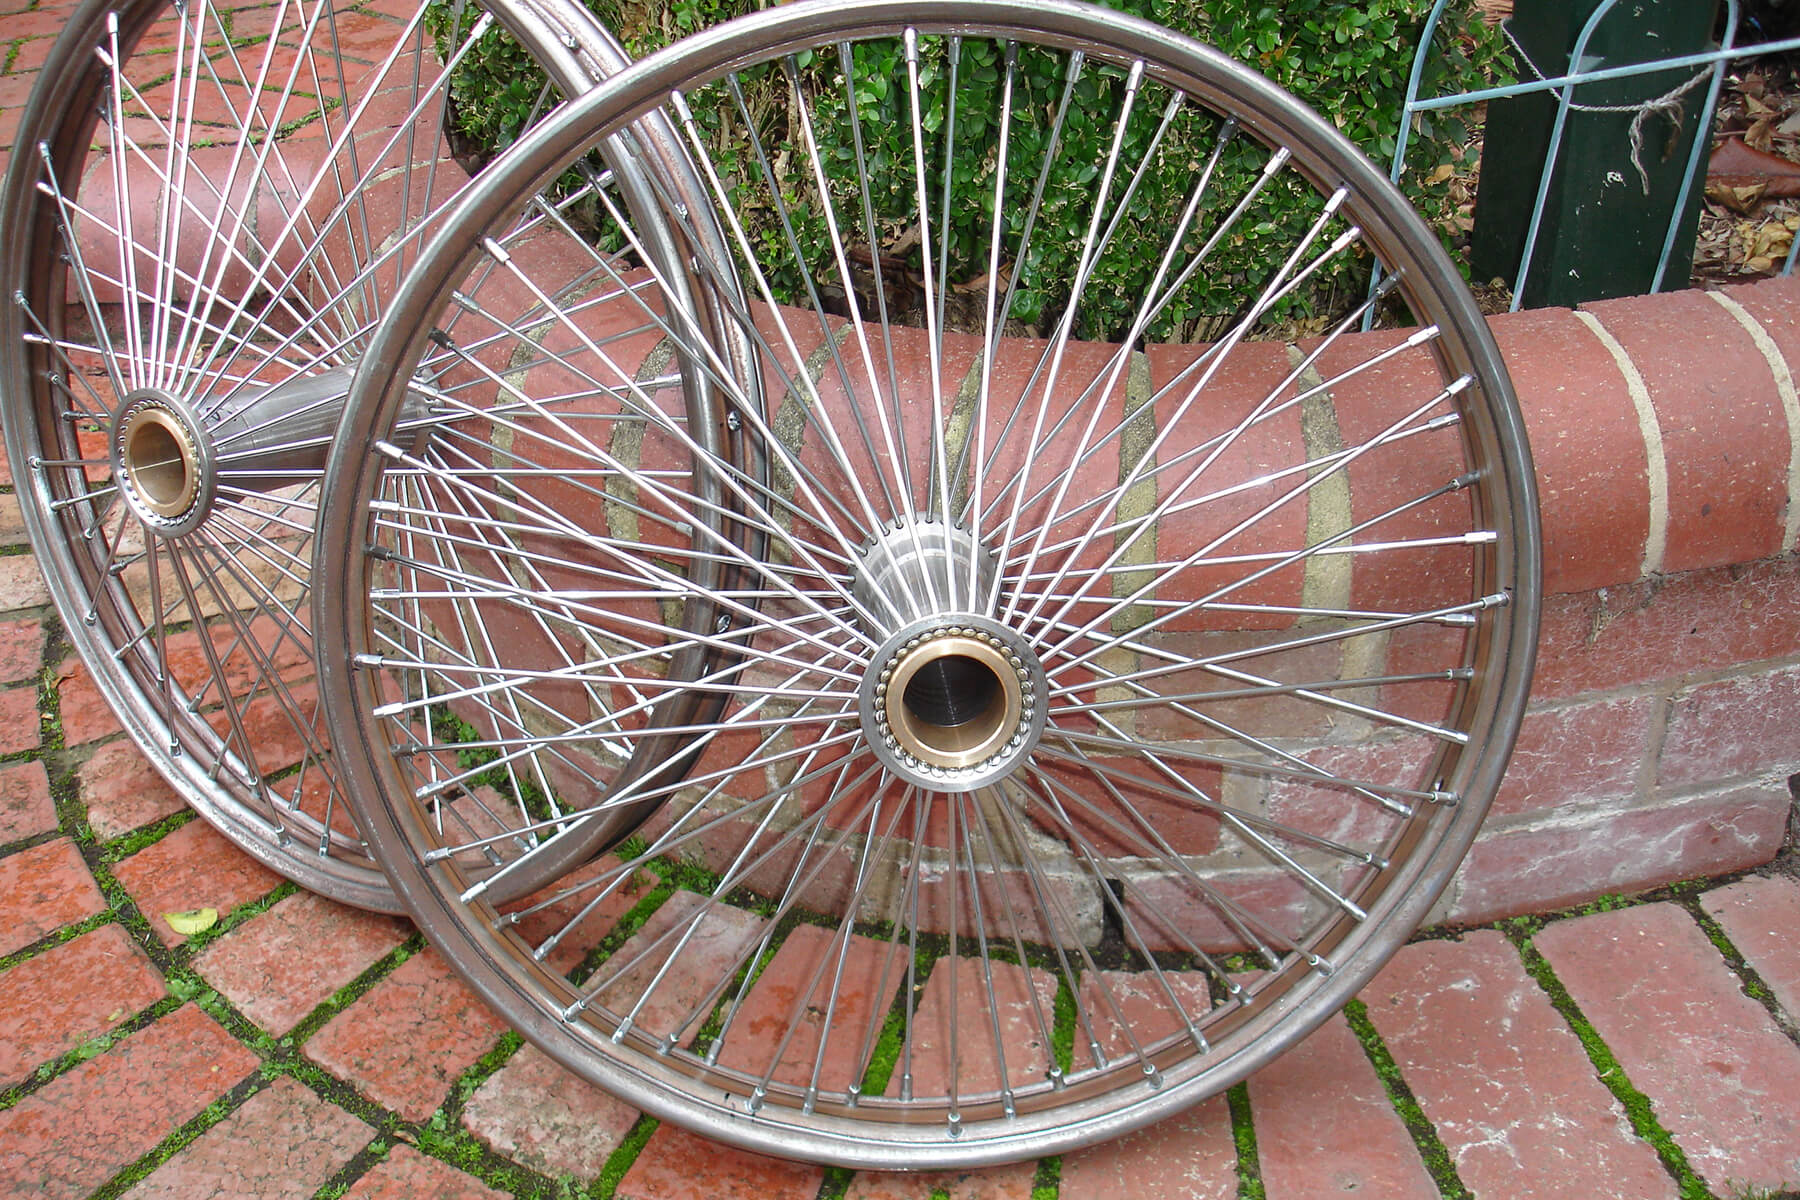
Spokes
Ducati 750SS Desmo.
Custom made for your bike.

Phil De Gruchy on Spoke making video.
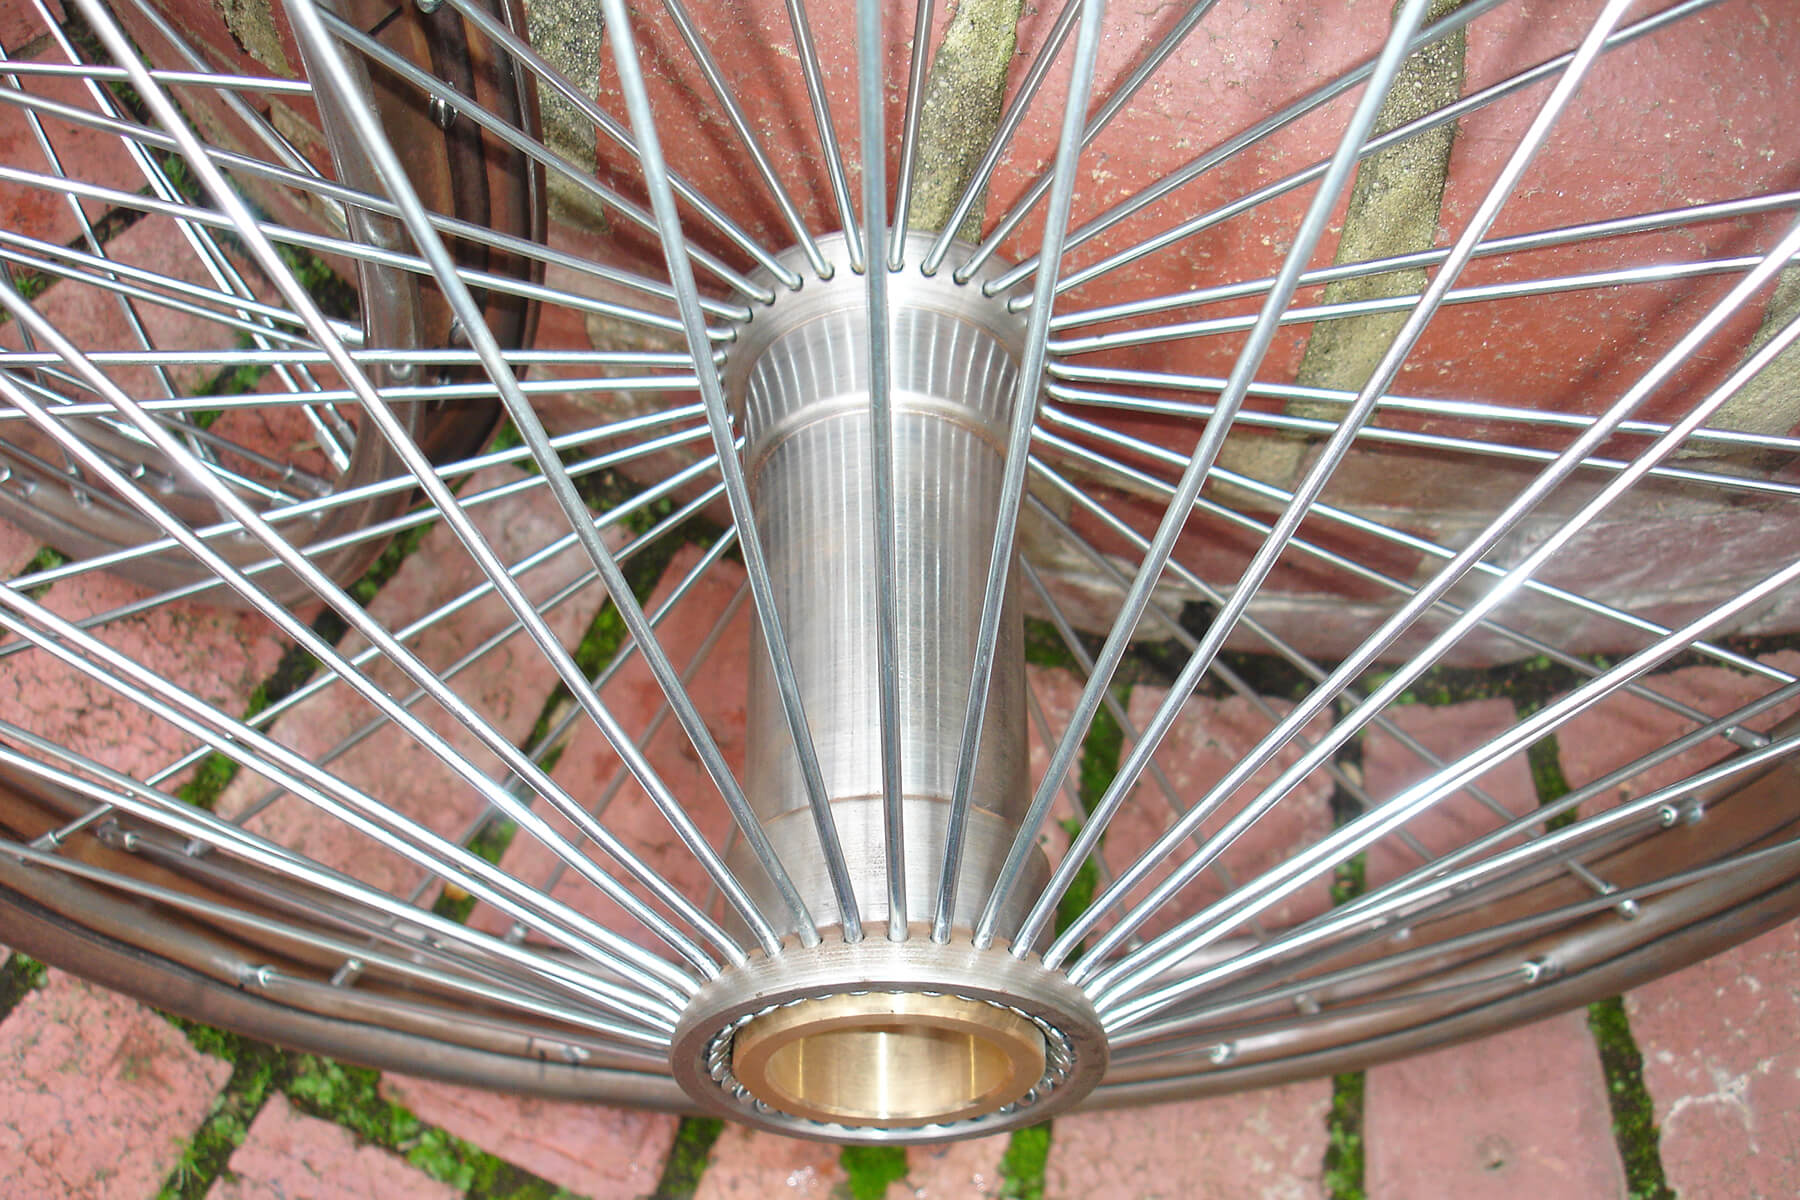
I make most of my own spokes and supply a large number of private and trade customers. Over the years, my stocks have risen considerably with blanks for various gauge diameters to enable me to make up spokes quickly and very accurately. I also have acquired over the years a large amount of drawings, dimensions and samples of spokes. As long as the customer can supply a hub, I can supply the rim and spokes plus work out the spoke length required. Spokes are either straight gauge or butted in stainless steel or zinc plated.
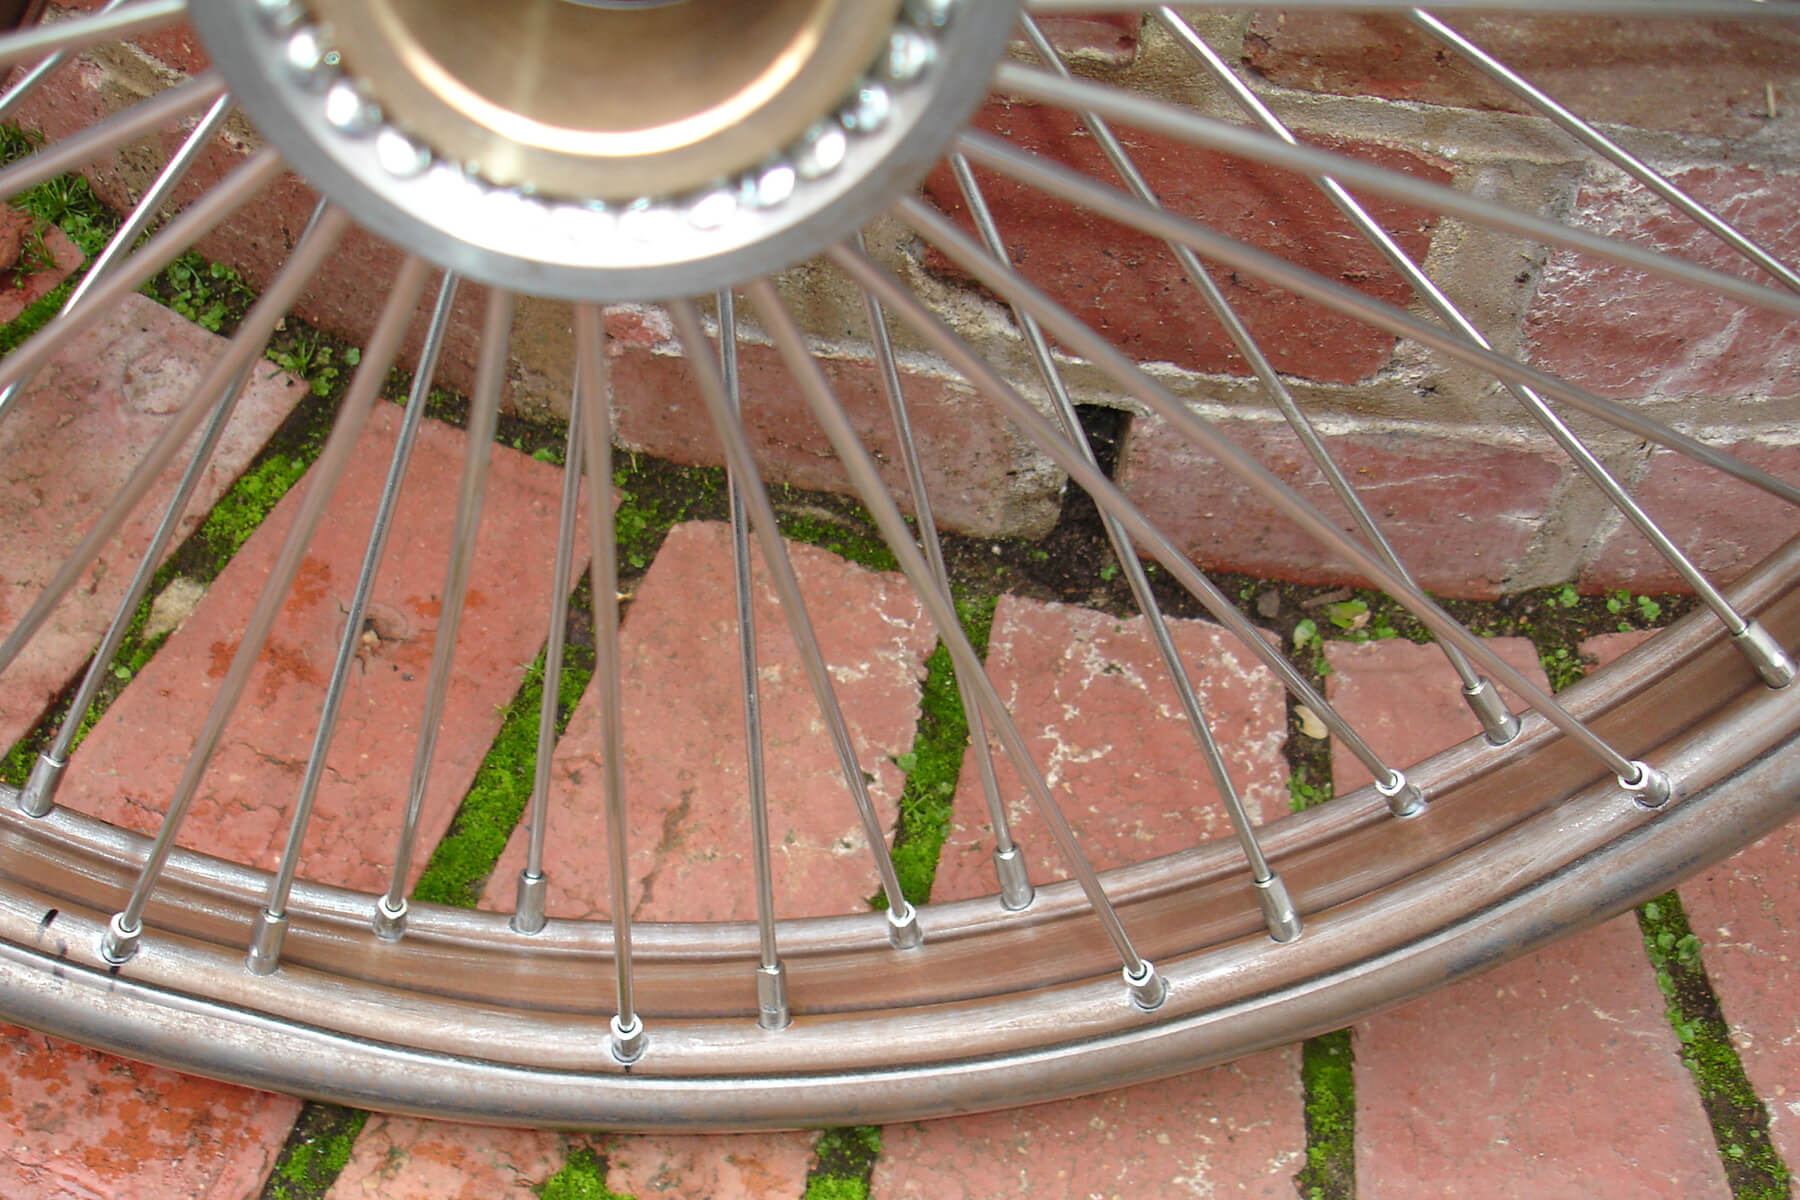
Spoke Nipples
I buy these in large quantities in various gauges, diameters and lengths: brass nickel plated, steel zinc plated, steel chrome plated and stainless steel. On average, I keep about 20 different types of nipples.

There are so many types.

These are the common kinds.
Thread rolling
The thread rolling machine I use is second to none and rolls a perfect thread every time. This ensures full overlap of the thread but also allows the nipple to spin down quickly and easily to help build a brilliant wheel.
Check out the video on Spoke making above.
My preference for brands is Euro Spoke, CWC and Buchanan. I’m not keen to use unbranded spokes and spoke blanks because they may or may not be up to standard. This ensures quality control and good workshop practice.

Thread Rolling
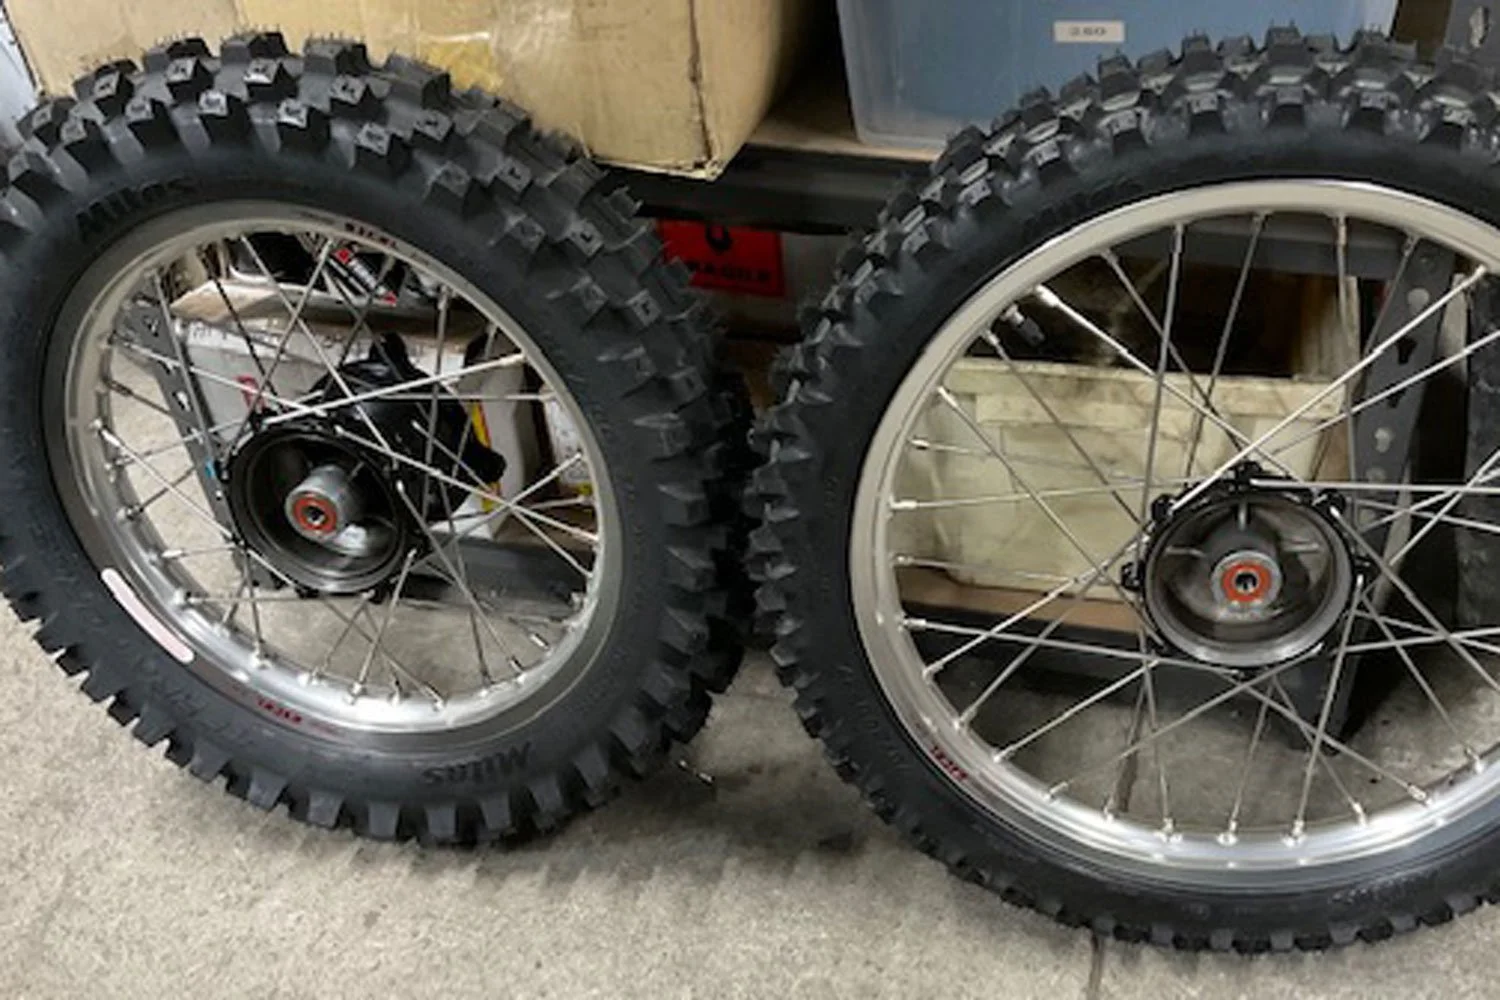
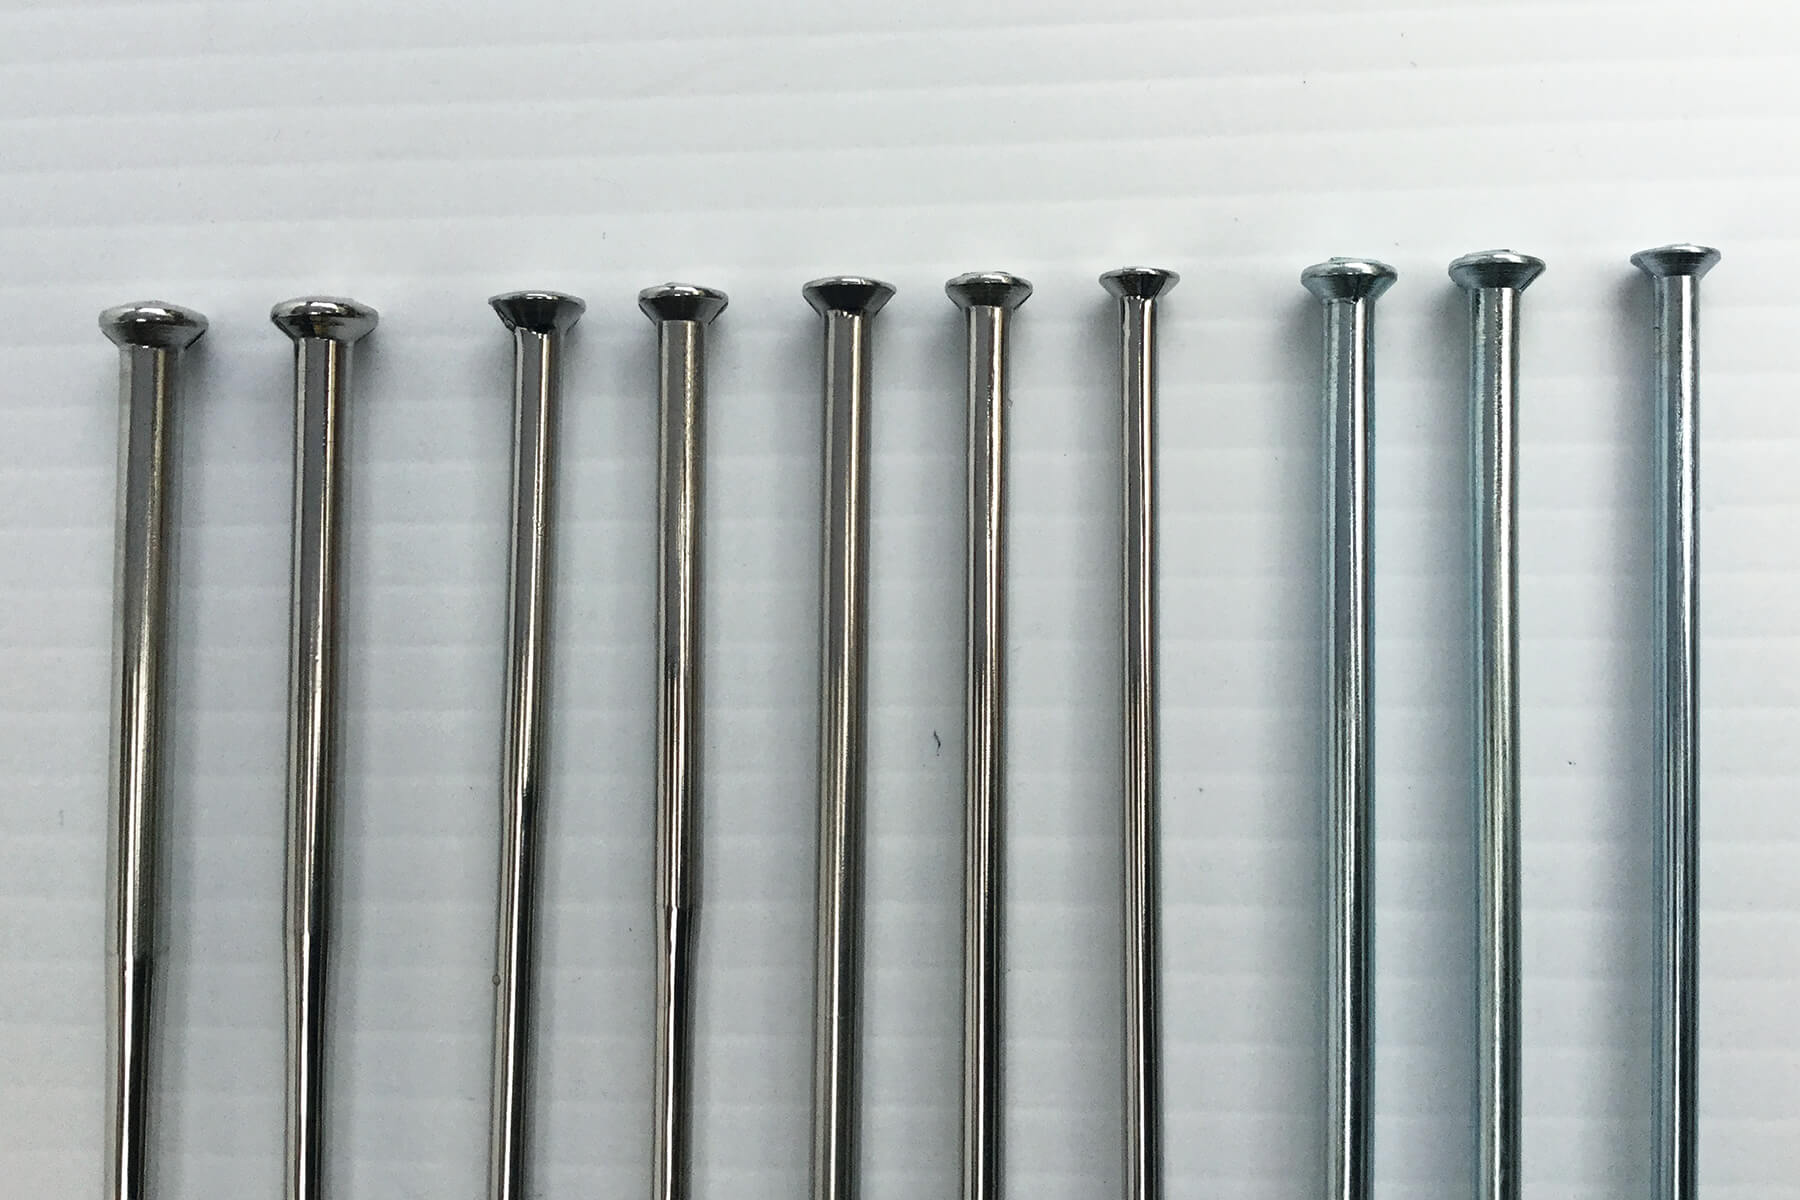
Many diameters and widths.
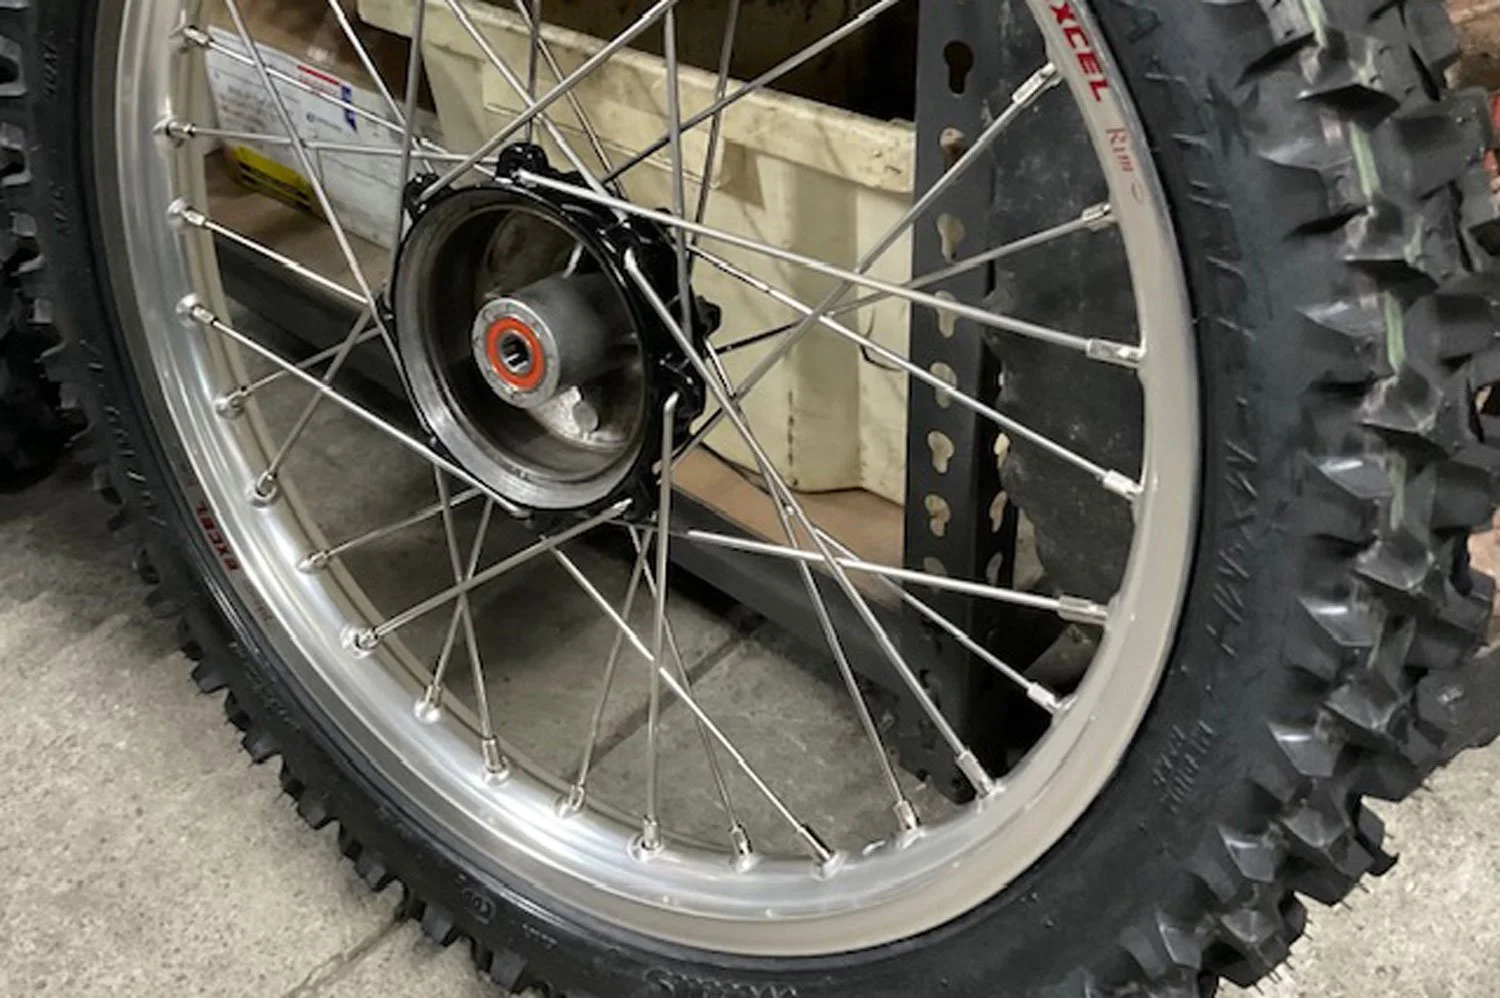

A measured and controlled bend.
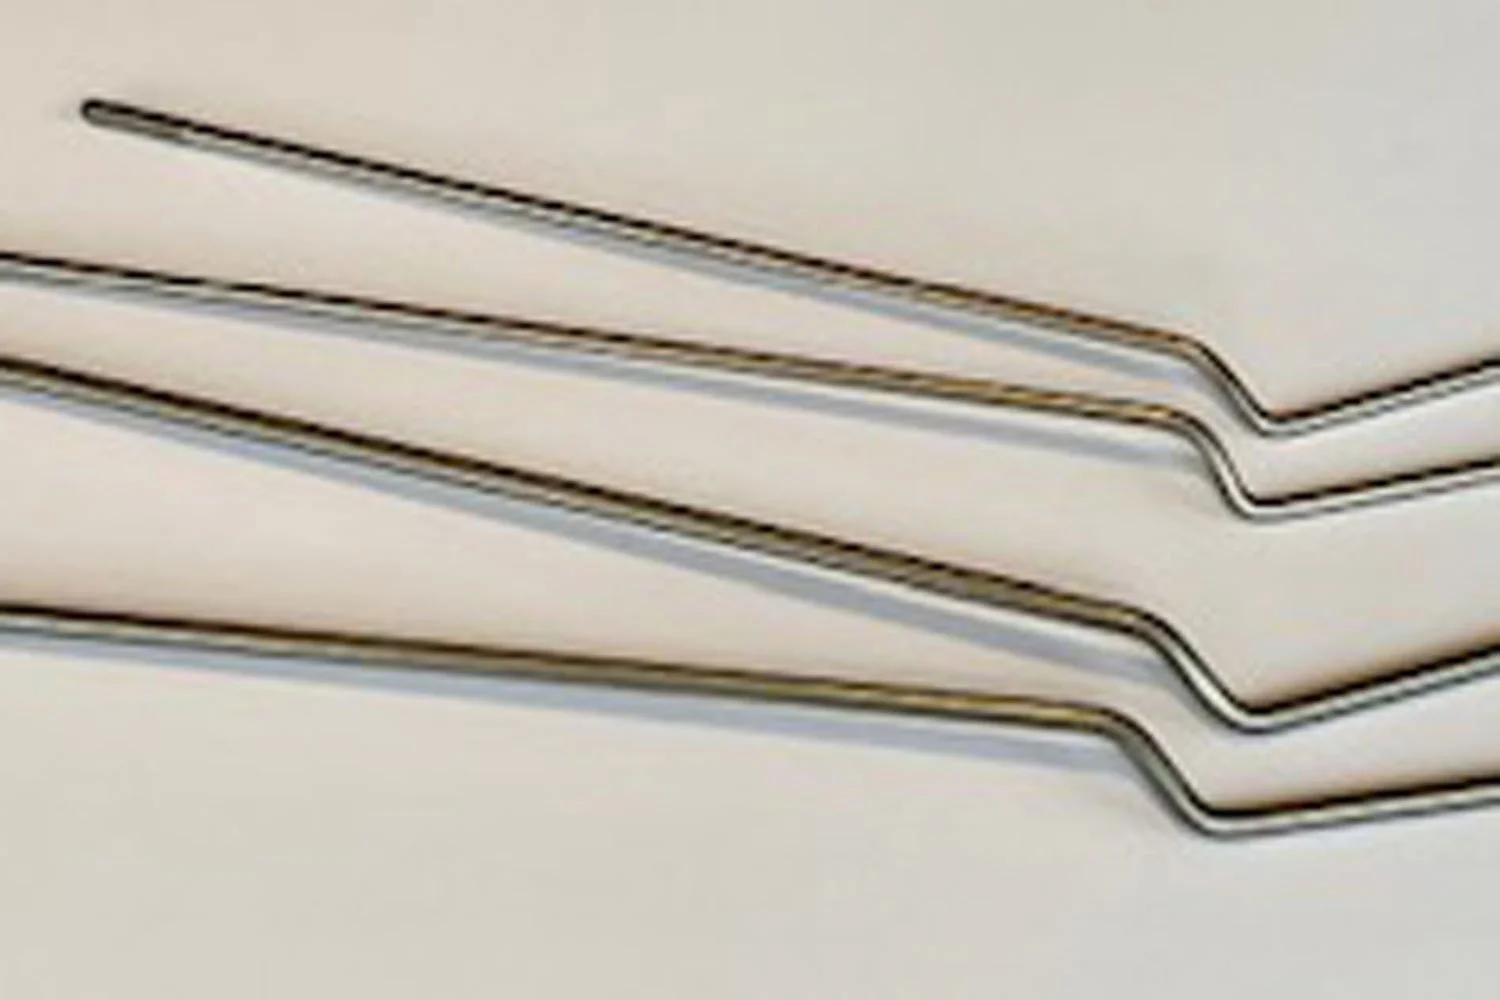
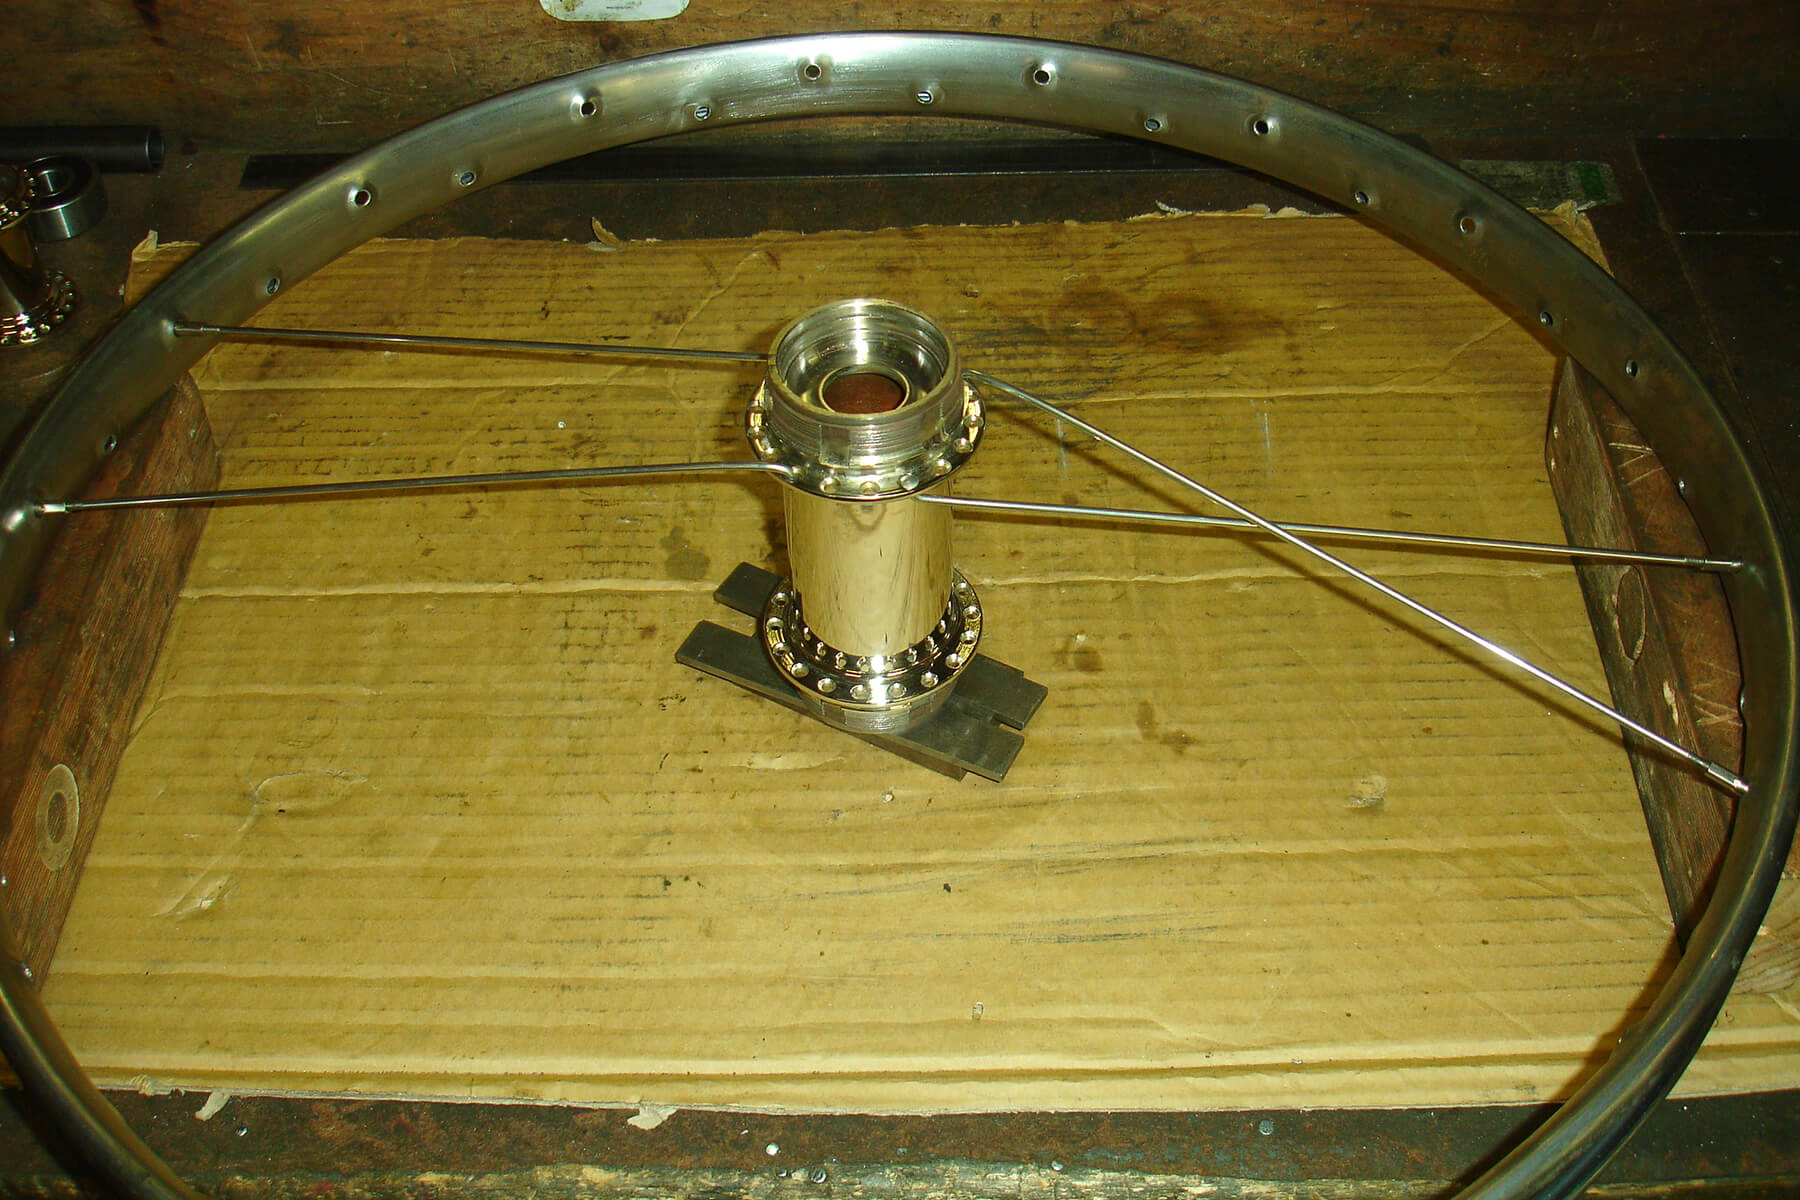
Z Spokes for Yamaha YZ and iT 1980’s models
Z spokes are one of those things in the wheel building trade that are not that easy to make up. It had made me think about making up the tooling to do the zig zag bend many many times over the years. The cutting and thread rolling are straight forward, much like a conventional spoke. The Z bend was the issue ! However, the 1980’s Yamaha off road bikes have become much restorable motorbike these days and with the necessity and need of Z spokes for jobs, I decided to make up the tooling to manufacture them.
Going back to my initial qualification as a Toolmaker (This is an apprenticed Fitter and Turner who has specialised in making up production tooling) I designed the concept in my head and then wrote it all down plus going ahead to make up the tooling. It took a prototype set up to work out the tolerances for the bends so as to make the final tooling easy enough to work with when doing a production run. In other words, “not rocket science”.
Even today, I still wonder why Yamaha thought Z spokes were such a great idea? The only reason I can think of is that Yamaha wanted to corner the market and make the customer purchase the spokes off them? It was also a unique design feature. I can remember when they first came out and thinking, wow, this is different.
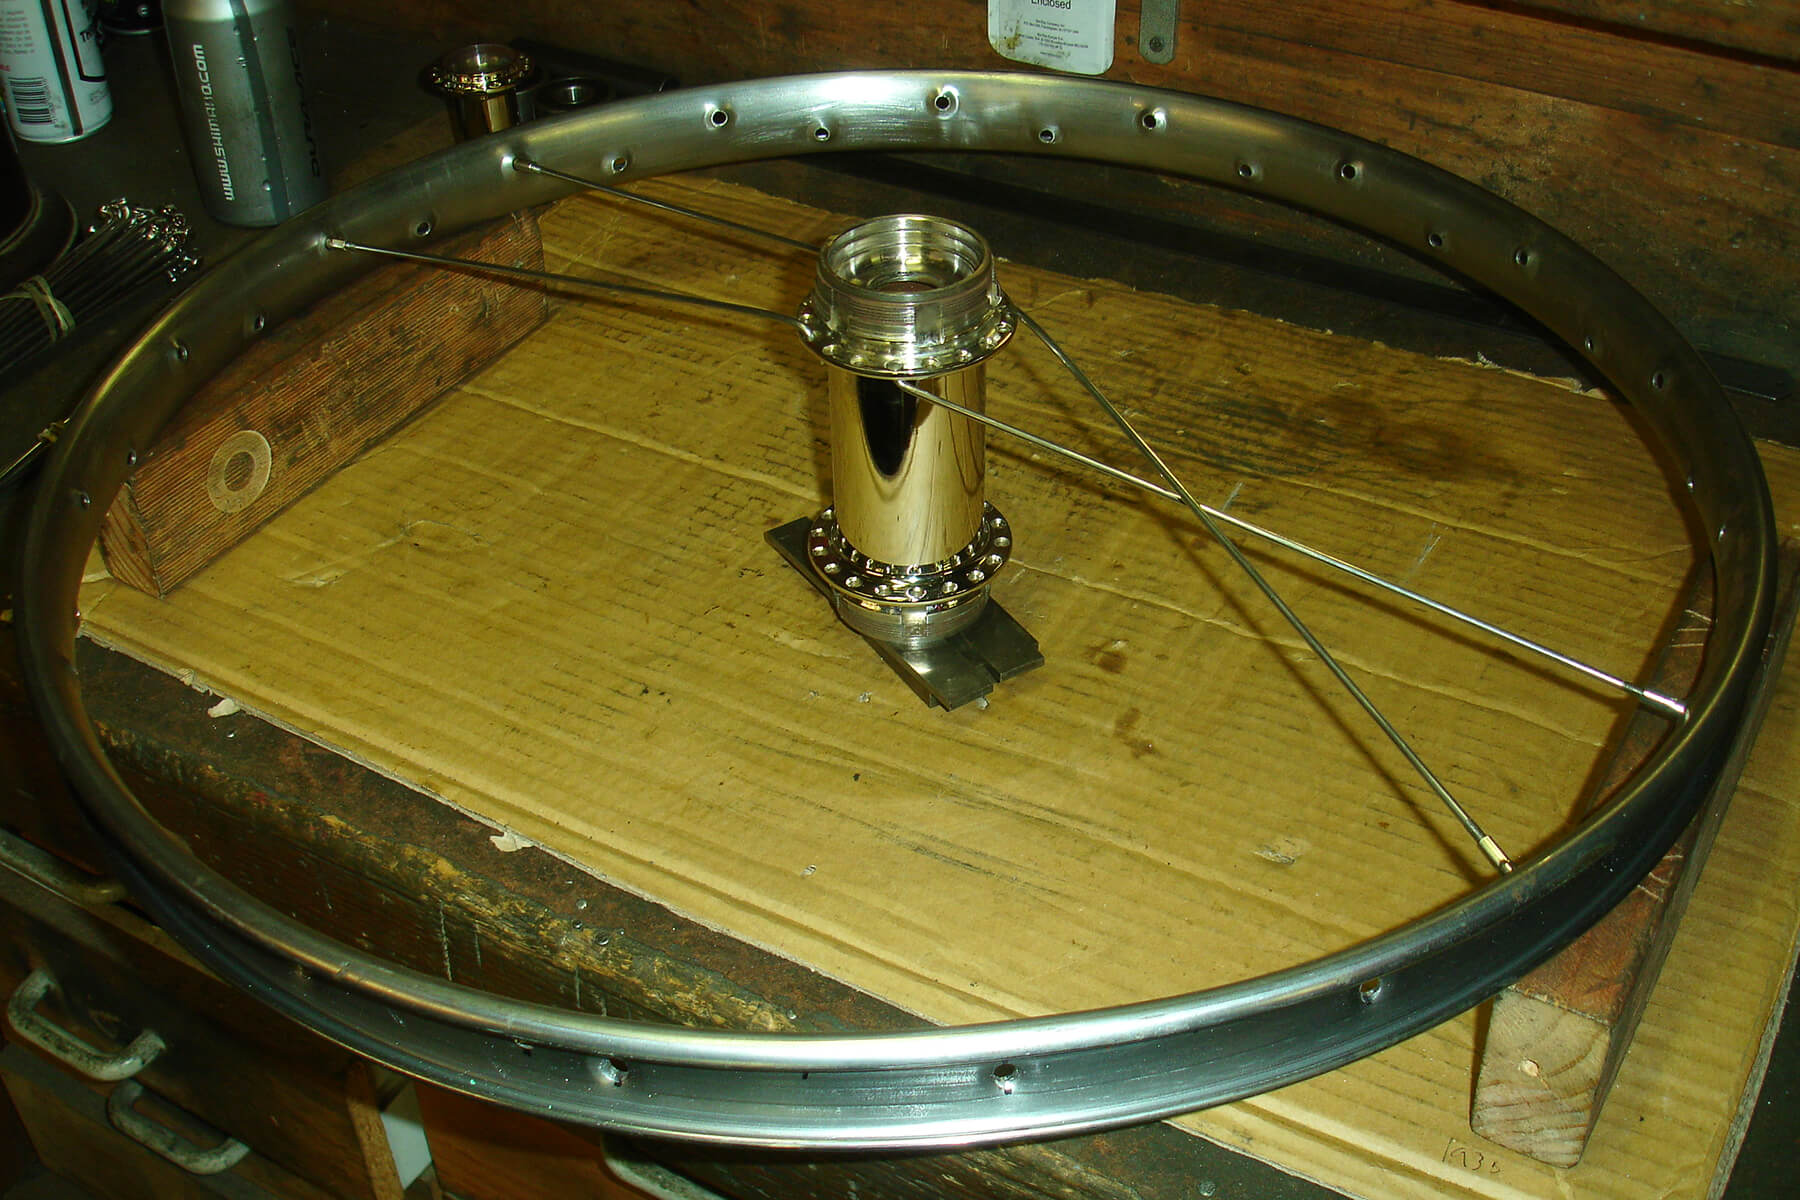
So here we are in 2026 and I have finally made up the tooling needed to make Z spokes and am happy with it. There are a couple of things that I need to be cautious about until I can make drawings of and keep sample Z spokes of all the different 1980’s Yamaha models. There are a number of same hubs with different diameter rims on them too. Not certain how many different hubs there are but there are quite a few. I need to either have the wheel in the workshop or receive a sample of the spoke to copy. The actual assembly of Z spoke wheel is not like a normal wheel either. All the spokes need to sit into place before fitting them to the rim. You have to be cautious not to scratch the rim with all the sharp edge threaded ends protruding. Like anything, it becomes time and patience. Then once you get it under control, it becomes experience.
Rims
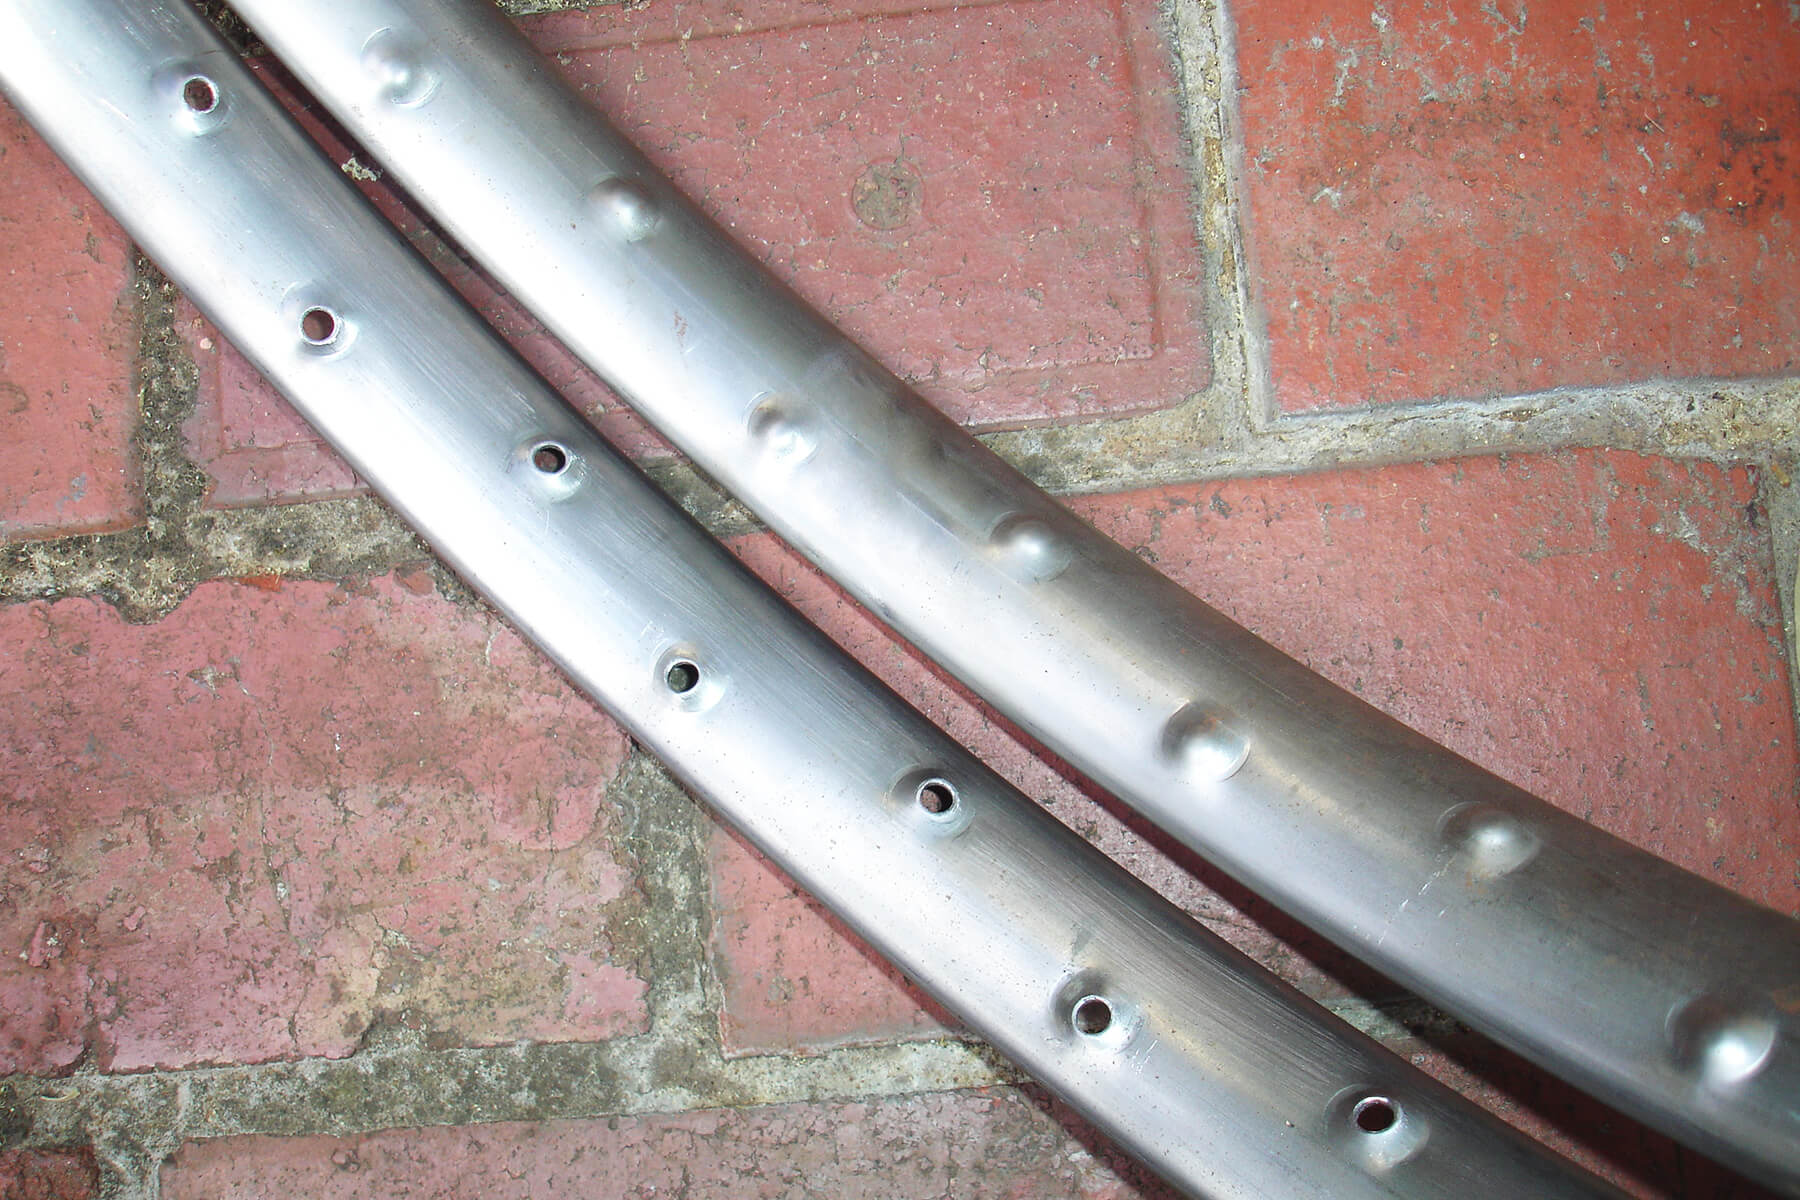
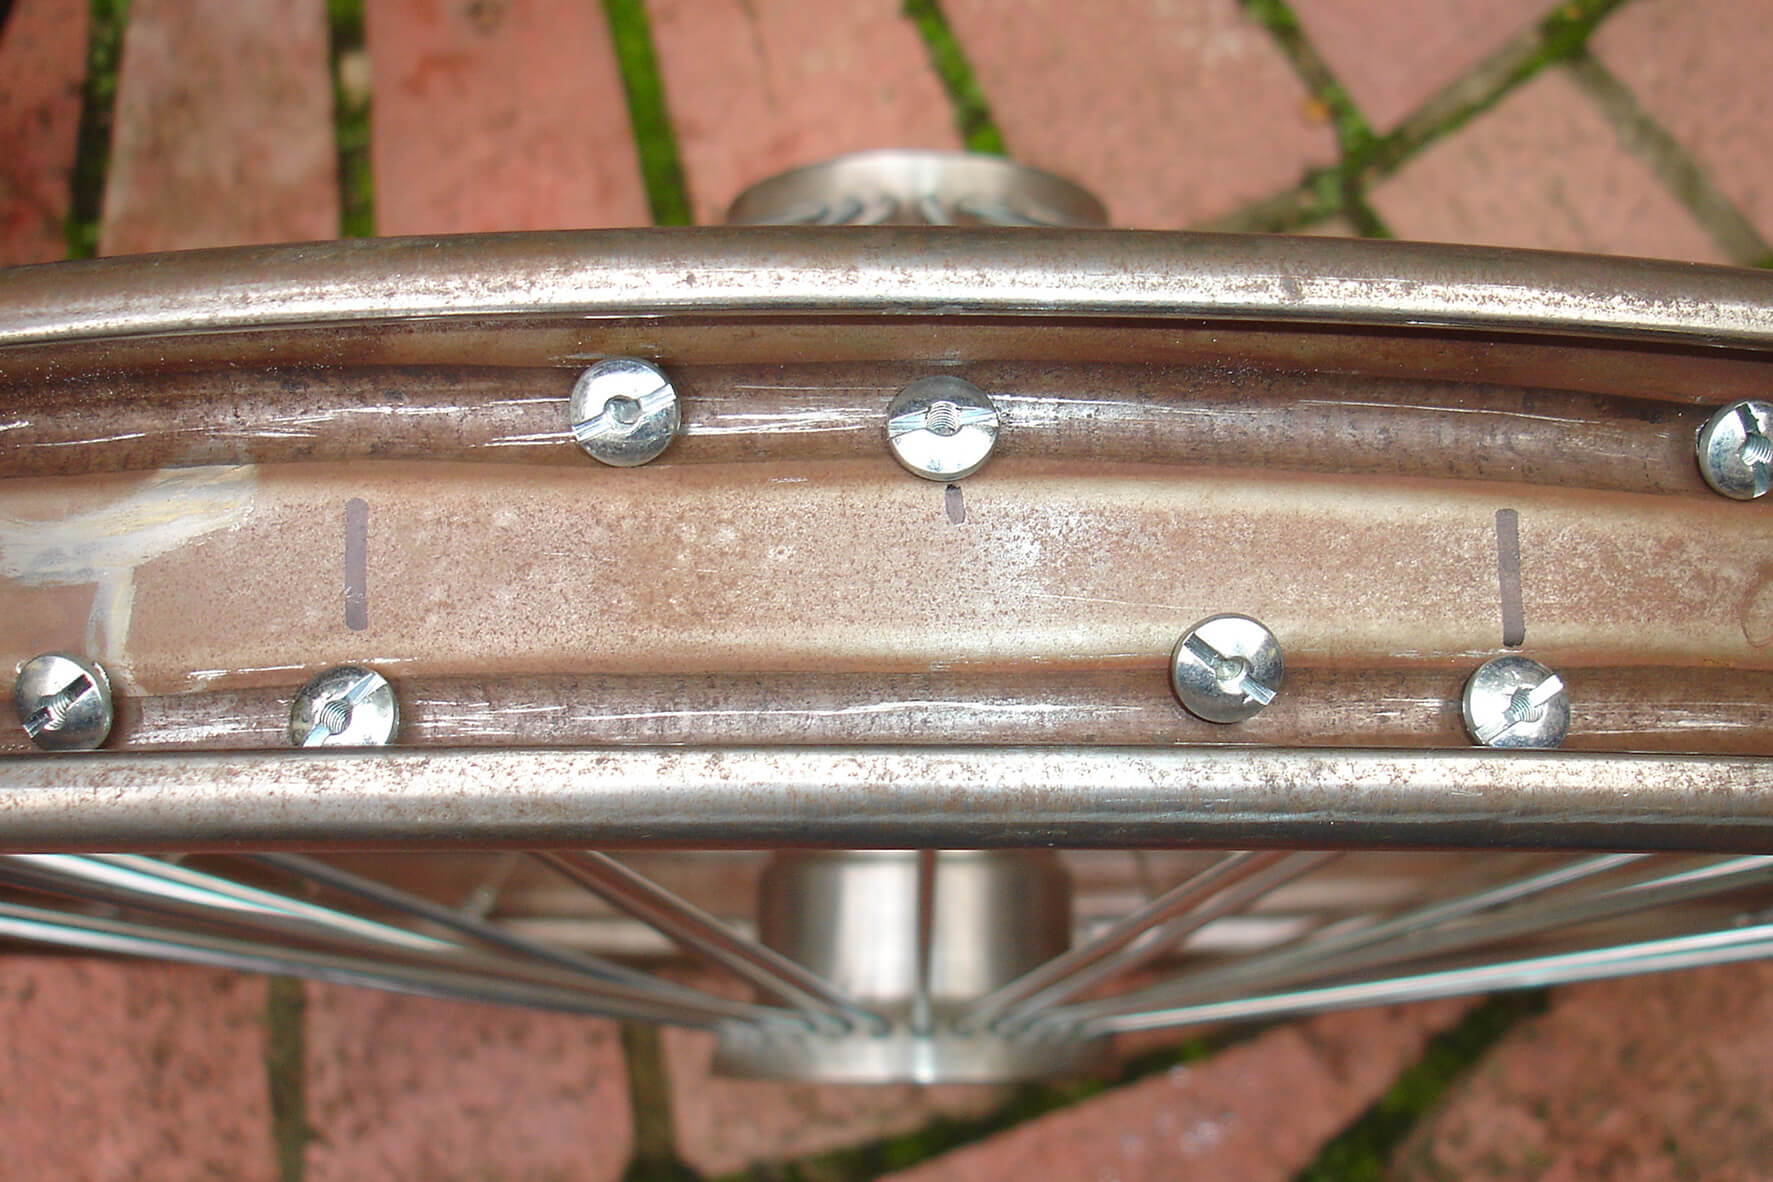
Most of my rim stock are undrilled blanks in 32, 36 and 40 dimples. These are alloy, stainless steel, chrome plated and bare steel in various diameters, widths and cross sections for all applications. I then drill these blanks to suit each application for the hubs provided.

Union rims.
Dimple and drill
This is where the rim is completely blank so then I can dimple the rim in the power press to whatever configuration or amount that is required. Most car rims, beaded edge rims and custom rims are done this way.
Look at the slide show on the right.